Build an Image Gallery App with IPFS and Tailwind CSS

Tailwind CSS is a utility-first CSS framework made for diverse yet simple website styling techniques.
In this tutorial, you will learn how to build an image gallery app with IPFS and Tailwind CSS using Filebase.
Prerequisites:
- Download and install NodeJS and NPM.
- Have an IDE or text editor for making changes to snippets of code.
- Have a Filebase account. If you don’t have one yet,
For this tutorial we’ll be using Remix, a Javascript framework, to serve the webpage of our image gallery. Start by creating a Remix app by using the following command:
This command will ask you a series of questions. Here’s how we answered them:

- Where would you like to create your app? We chose ./image-gallery-dapp, but you can name your app anything and have it stored in any directory you’d like.
- What type of app do you want to create? Just the basics
- Where do you want to deploy? Remix App Server
- TypeScript or JavaScript? TypeScript
- Do you want me to run ‘npm install’? y
Navigate into your new app directory:

Next, we’ll install Tailwind to be used with styling our app’s CSS:
Then initialize your Tailwind package:

This will create a new file called tailwind.config.js. Open this file in a text editor and enter the following content:
module.exports = {
 mode: "jit",
 purge: ["./app/**/*.{ts,tsx}"],
 content: [],
 theme: {
 extend: {},
 },
 plugins: [],
};
Next, open the package.json file and in the scripts section, replace the content with the following:
"scripts": {
    "build": "npm run build:css && remix build",
    "build:css": "tailwindcss -o ./app/tailwind.css",
    "dev": "concurrently \\"npm run dev:css\\" \\"remix dev\\"",
    "dev:css": "tailwindcss -o ./app/tailwind.css --watch",
    "postinstall": "remix setup node",
    "start": "remix-serve build"
  },
Open the app/root.tsx file. Insert the following line at the top of the file:
Then anywhere in the body of the app/root.tsx file, enter the following function lines:
export const links: LinksFunction = () => {
  return [{ rel: "stylesheet", href: tailwindCSS }];
};
Now let’s get our app up and running. Use the command:
Your app will be running at localhost:3000. By default, it’ll look like this:
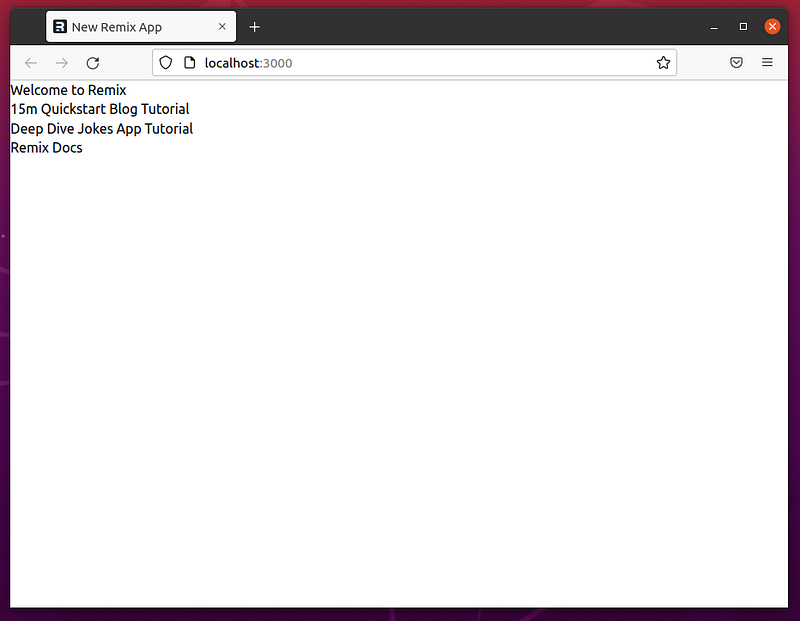
Now let’s make it into our image gallery.
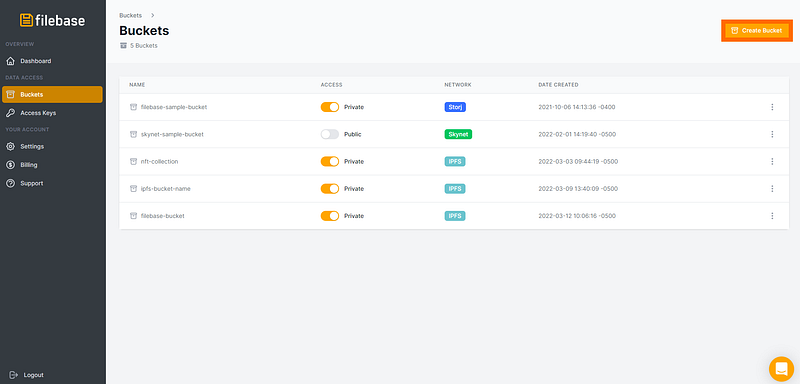
First, we need some images. To do this, navigate to console.filebase.com. If you don’t have an account already, sign up, then log in. Select ‘Buckets’ from the left side bar menu, or navigate to console.filebase.com/buckets. Then select ‘Create Bucket’ in the top right corner to create a new bucket.
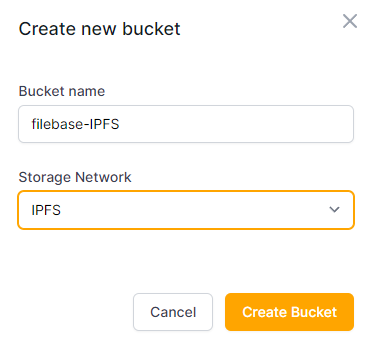
Enter a bucket name and choose the IPFS storage network to create the bucket.
In this guide, we’re calling the bucket filebase-IPFS.
Typically, IPFS pinned files are stored on centralized cloud providers, like AWS.
Using Filebase, all files that are pinned onto IPFS are actually being stored on the Sia network.
This creates an environment where the data storage layer for Filebase's IPFS nodes are highly available, and most importantly, geo-redundant.
Bucket names must be unique across all Filebase users, be between 3 and 63 characters long, and can contain only lowercase characters, numbers, and dashes.
Next, select the bucket from your list of buckets, then select ‘Upload’ in the top right corner to upload an image file.
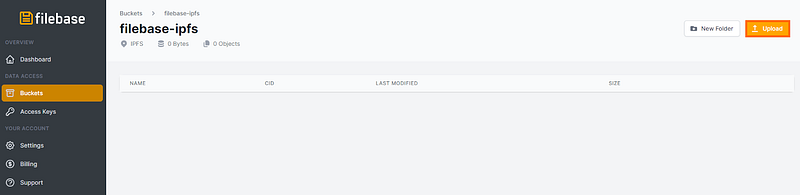
Select an image to be uploaded. Once uploaded, it will be listed in the bucket.
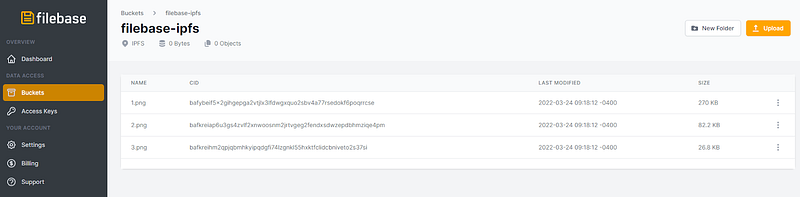
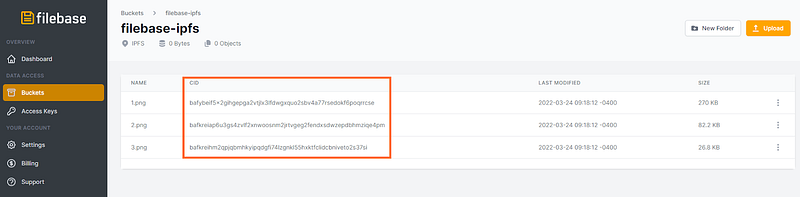
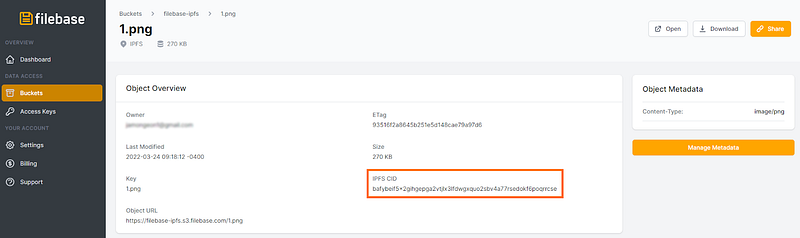
You can view the object’s IPFS CID in the CID column, or you can click on your uploaded object to display the metadata for the object, which includes the IPFS CID.
Choose the method you prefer, and take note of the IPFS CID.
Upload as many images as you’d like to use for your Image Gallery and take note of the CID for each one.
Now, let’s open the file in the app/routes directory called index.tsx. In this file, insert the following code:
export default function gallery() {
return (
<body>
<center>
<div>
<a target="_blank" href="Filebase_Networks_Icon"> </a>
<img src="https://ipfs.filebase.io/ipfs/IPFS_CID" alt="Filebase Networks Icon" width="400" height="400"></img>
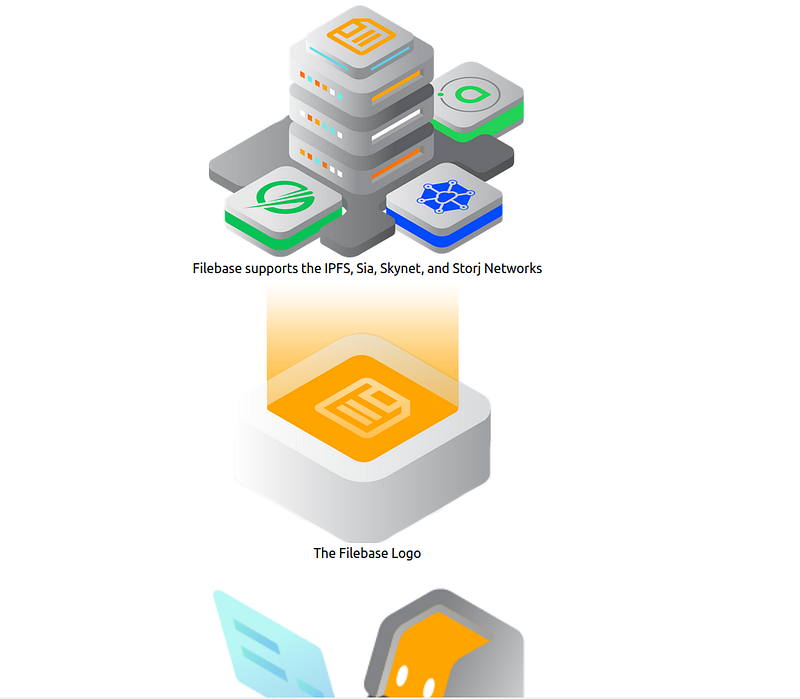
<div class="desc">Filebase supports the IPFS, Sia, Skynet, and Storj Networks</div>
</div>
<div>
<a target="_blank" href="Filebase_Icon"> </a>
<img src="https://ipfs.filebase.io/ipfs/IPFS_CID" alt="Filebase Icon" width="400" height="400"></img>
<div class="desc">The Filebase Logo</div>
</div>
<div>
<a target="_blank" href="Filebase_Robot"> </a>
<img src="https://ipfs.filebase.io/ipfs/IPFS_CID" alt="Filebase Robot" width="400" height="400"></img>
<div class="desc">The Filebase Robot</div>
</div>
</center>
</body>
);
}Replace the IPFS_CID values with your IPFS CID’s from the images you uploaded to Filebase.
You can edit the size of each image by changing the width and height values.
You can also change the names and descriptions of each image by changing the desc values and the alt / href values.
Here’s what ours looks like:
From here, you can style your gallery however you’d like, using the Tailwind CSS package. For more information about Tailwind CSS and the customization options, see their documentation here.
Enjoy 5TB of free IPFS storage for one-month (using code "IPFS")
💾 👉 Deploy in-seconds, use IPFS today!
Questions? Check out our excellent documentation found here, or simply reach out to us: hello@filebase.com or by joining by our Discord.