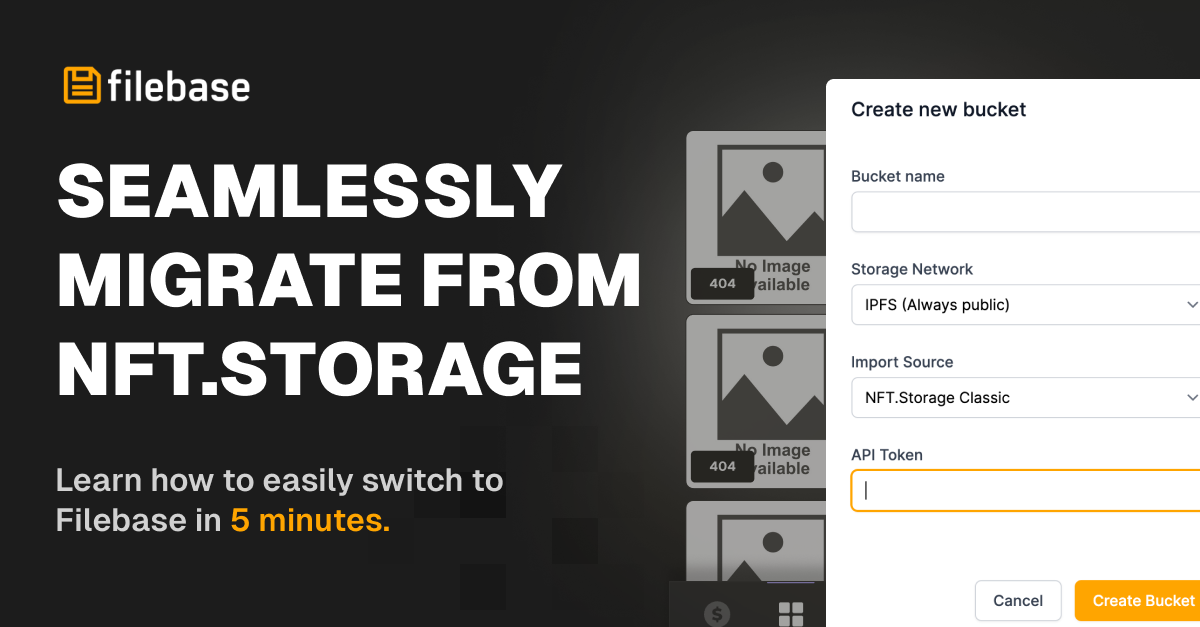
Seamlessly Migrate Your Data from NFT.Storage to Filebase

Introduction
As of June 30th, 2024, NFT.Storage will discontinue uploads to their classic product. This transition requires users to find alternative storage solutions. Filebase offers a robust and reliable service for migrating and securely storing your pinned data, designed for exceptional performance and to maintain high availability.
Why Choose Filebase?
Unlike many providers that use high-cost centralized cloud providers such as AWS, Filebase leverages bare metal server infrastructure and operates out of multiple data centers around the world. By running on bare metal, we're able to provide an extremely fast, reliable, and secure IPFS pinning service while eliminating the cloud provider middleman. This significantly reduces our operational costs, increases performance, and allows us to pass these cost savings and performance gains onto you, the user.
For users looking to migrate their data from NFT.Storage over to Filebase, use promo code SAVENFT to get your first month of service free.
Key Benefits of Filebase
- Reliability: Files are stored using bare metal server infrastructure in data centers spread throughout the world.
- Speed: Quick access times and reduced latency for loading NFTs thanks to the Filebase CDN.
- Customization: Dedicated gateways with customizable domains.
- Security: Two factor authentication and API tokens help control who has access to your data and gateways.
Step-by-Step Migration Process
Migrating data is simple - just follow our 3 step process below. If you're an NFT creator, collector, or developer who has stored data with NFT.Storage and need a reliable, long-term storage solution, this guide is for you.
Step 1: Retrieve Your NFT.Storage API Key
- Log into your NFT.Storage Classic account by navigating to NFT.Storage Classic
- Navigate to API Keys at the top.
- Create a new key or copy an existing key.


Step 2: Create a Filebase Account
- Visit the Filebase website and sign up for a new account.
- Verify your email address to activate your account.
- Visit the Billing page and upgrade to the $20 Starter Plan using code promo code SAVENFT to unlock the NFT.Storage migration workflow.
Step 3: Create a Bucket and Import NFT.Storage Data
- Log into your paid Filebase account.
- Navigate to Buckets on the left-hand side of the dashboard.
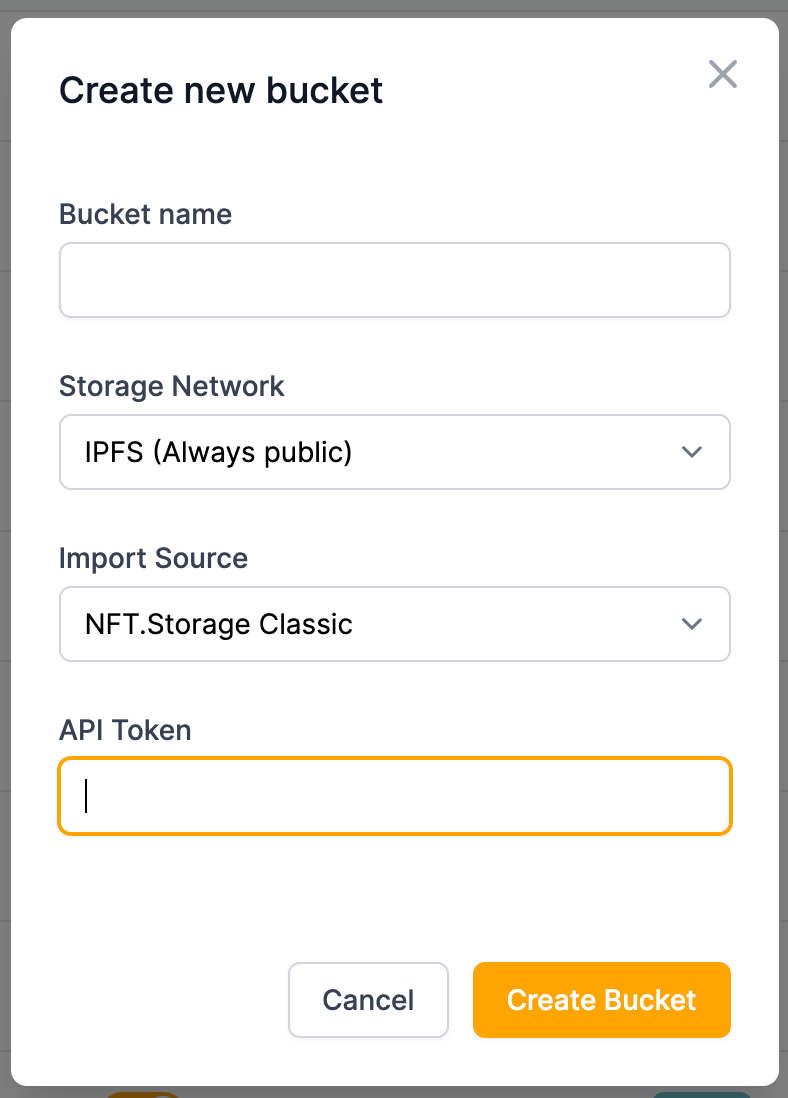
- Click on Create Bucket.
- Give your bucket a unique, all-lowercase name (e.g., nftstoragetransfer).
- Select NFT.Storage from the Import Source dropdown menu and enter your API key.
- Complete the action by clicking the Create Bucket button.

At this stage, Filebase will automatically import all pinned data from NFT.Storage. The status of each pin will be marked as Queued to start, and will quickly transition to Pinning. Once each file is marked as Pinned, the file has been fully copied over to Filebase's infrastructure and is safely stored.
To receive status updates for each pin, simply refresh the dashboard, or use our Pinning Service API.
Conclusion
Migrating your data from NFT.Storage to Filebase is a quick and easy process with our one-click migration tool. Enjoy enhanced storage, bandwidth, and a dedicated IPFS gateway with Filebase. For more details, visit our website or contact our support team.
Reliable IPFS, Zero Headaches
Gateways, IPNS, and seamless pinning—all in one place. Try it now
Get Started For Free!