Release an NFT Drop and deliver geo-redundant objects on IPFS via Filebase

Thirdweb is an easy to use web dashboard for building Web3 applications seamlessly.
With Thirdweb, you will eliminate the burden of coding and deploying smart contracts, saving you time and effort. Because it's compatible with Filebase, you can instantly deploy NFT collection drops onto IPFS and decentralized storage utilizing an S3-Compatible API. Filebase ensures that all of your pinned objects remain highly-available, performant and deployed at 1/10th the cost of your existing provider.
Read below to learn how to create your own NFT Drop using Thirdweb and Filebase without any coding required, or complexity.
To get started, you will need:
- A crypto wallet, such as MetaMask.
- Create a folder of images you’d like to use as NFT images for your drop.
- Have a website you plan to use to embed the finished app on. This can be a simple Wordpress site, or a self-hosted website. This allows the public to have access to your NFT collection drop.
- Have a Filebase account. If you don’t have one yet, sign up here.
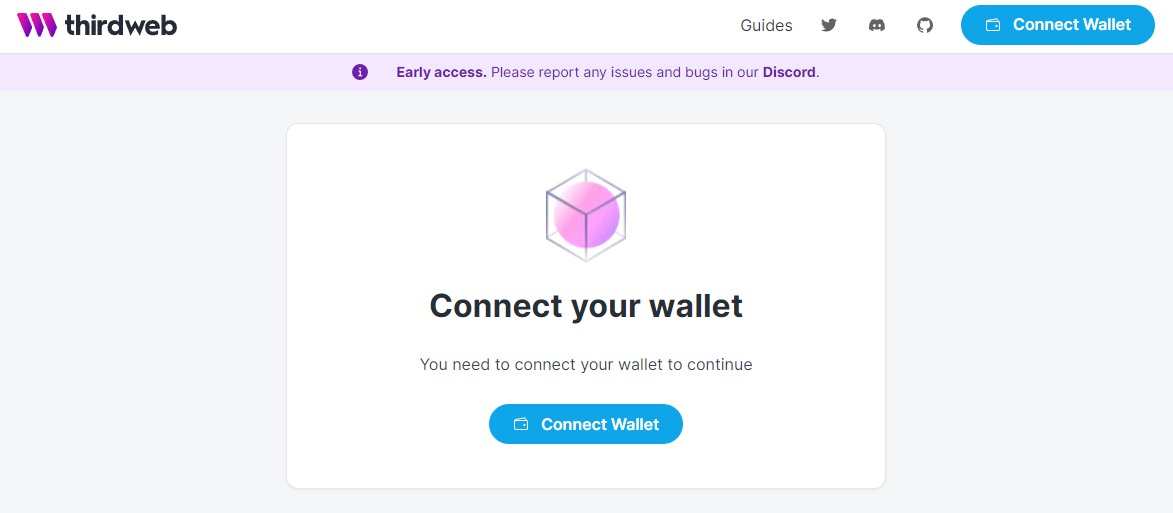
Start by logging into the Thirdweb dashboard and connect your crypto wallet of choice to Thirdweb.
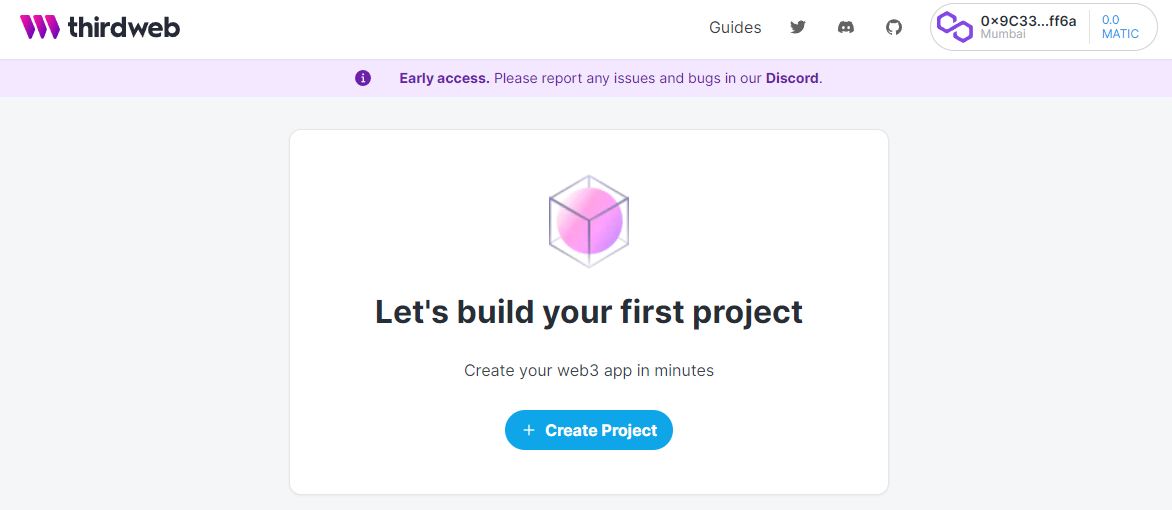
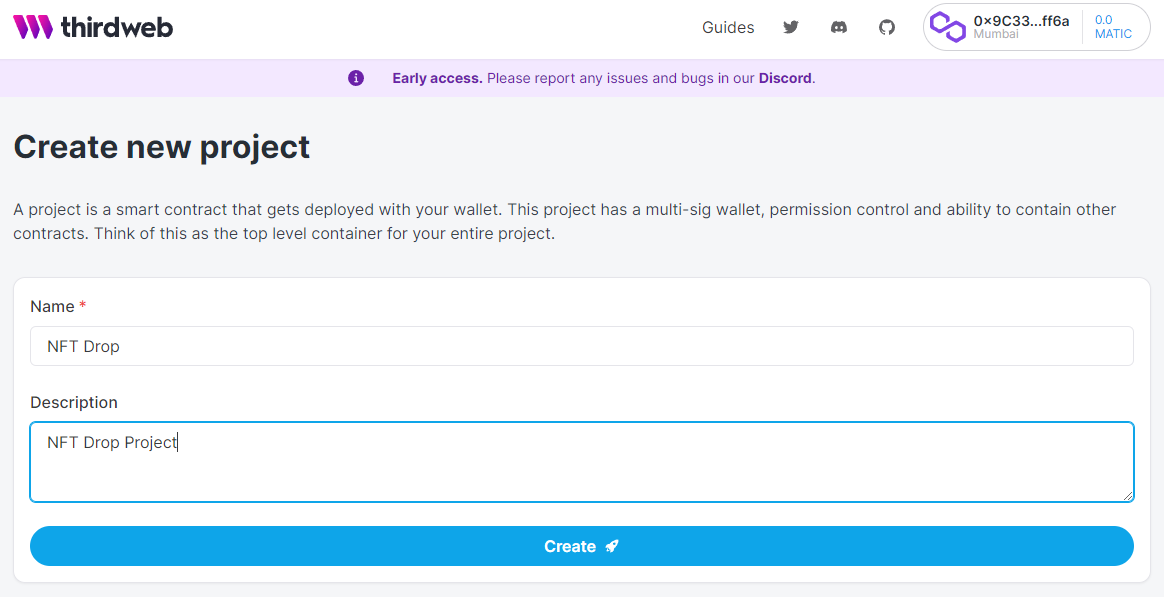
Once you’ve connected your wallet, select ‘Create Project’ to get started making your NFT Drop project.
In this tutorial, we’ll use the Mumbai Polygon Testnet network, but you can use any network you’d like. Once you select the Mumbai Polygon Testnet network, you may get a message saying your wallet has insufficient funds.
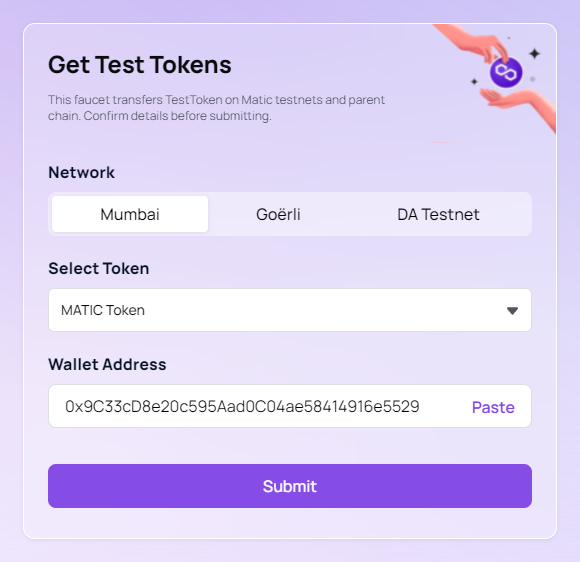
Use the ‘Get MATIC from faucet’ option in the message to open the Polygon faucet to get some test currency. This is not real crypto currency, just a test currency for the test network. In the faucet window, select the Mumbai network, MATIC token, and enter your wallet address.
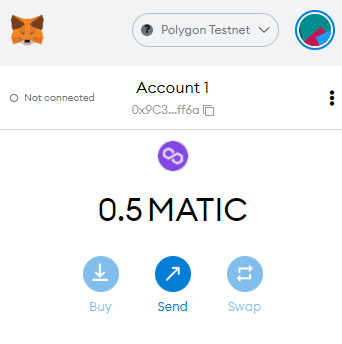
Once the MATIC is shown in your wallet, move back to the Thirdweb dashboard screen. Give your project a name and a description. Select ‘Create’.
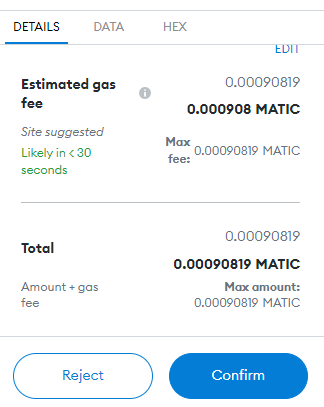
You will be prompted to authorize the transaction through your wallet.
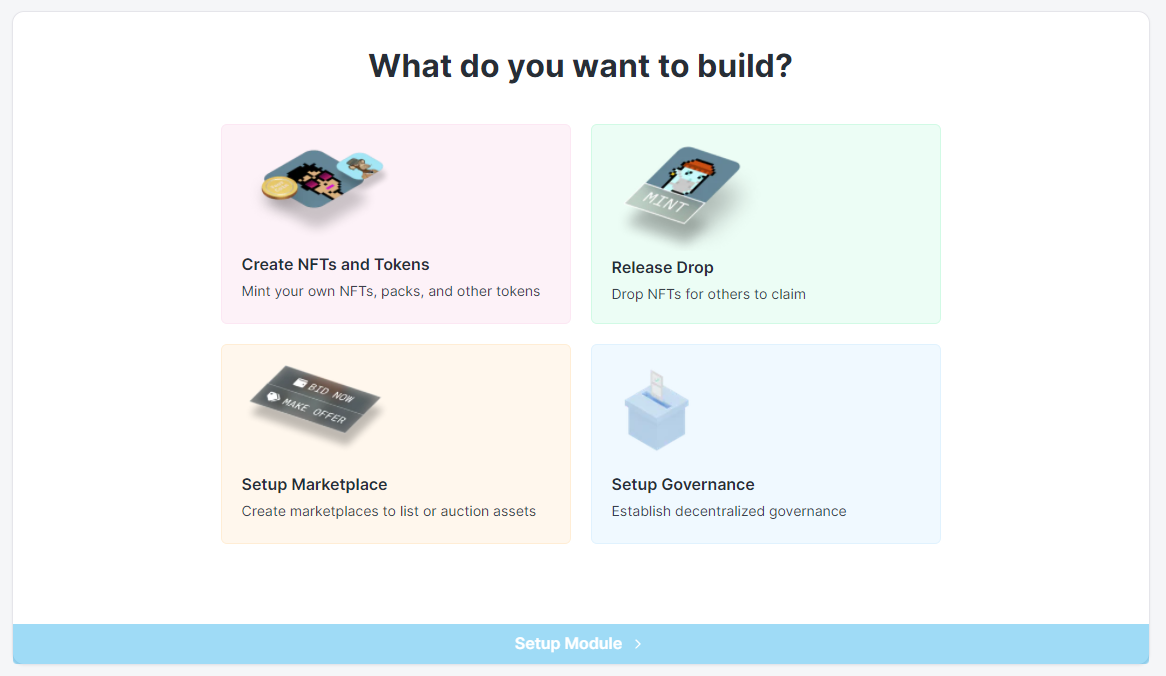
Once authorized, your project is ready to be created. Select ‘Add Module’ from your project’s dashboard.
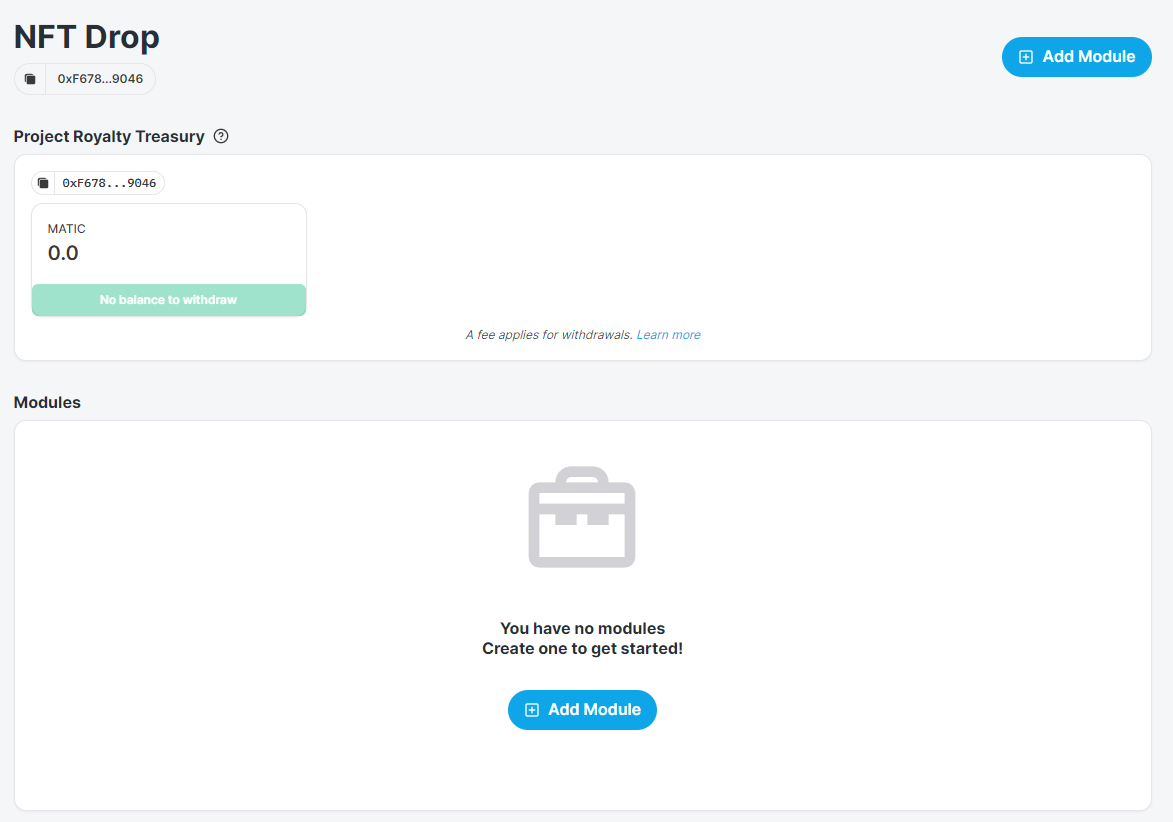
From the list of modules, select ‘Release Drop’.
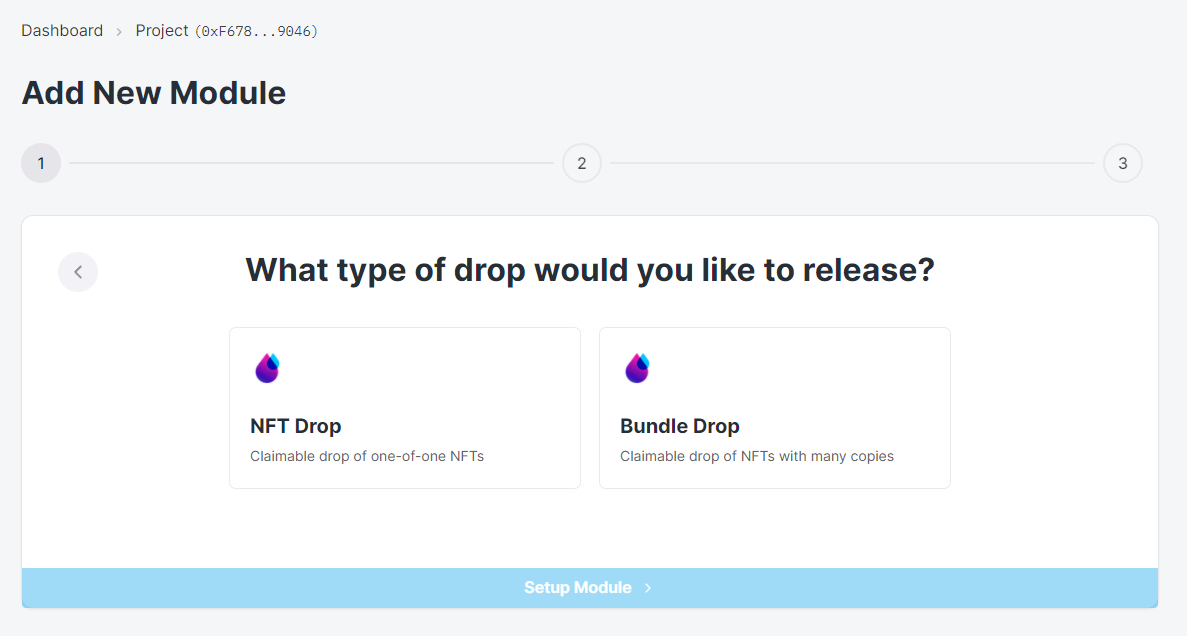
Select the type of NFT drop you’d like to create. For this guide, we’ll use a single NFT drop that uses unique, one of a kind NFTs.
Customize your NFT Drop module settings, including a name and description for your NFT drop, an image, symbol, and the primary sale recipient wallet address (where sales profits will be sent to).
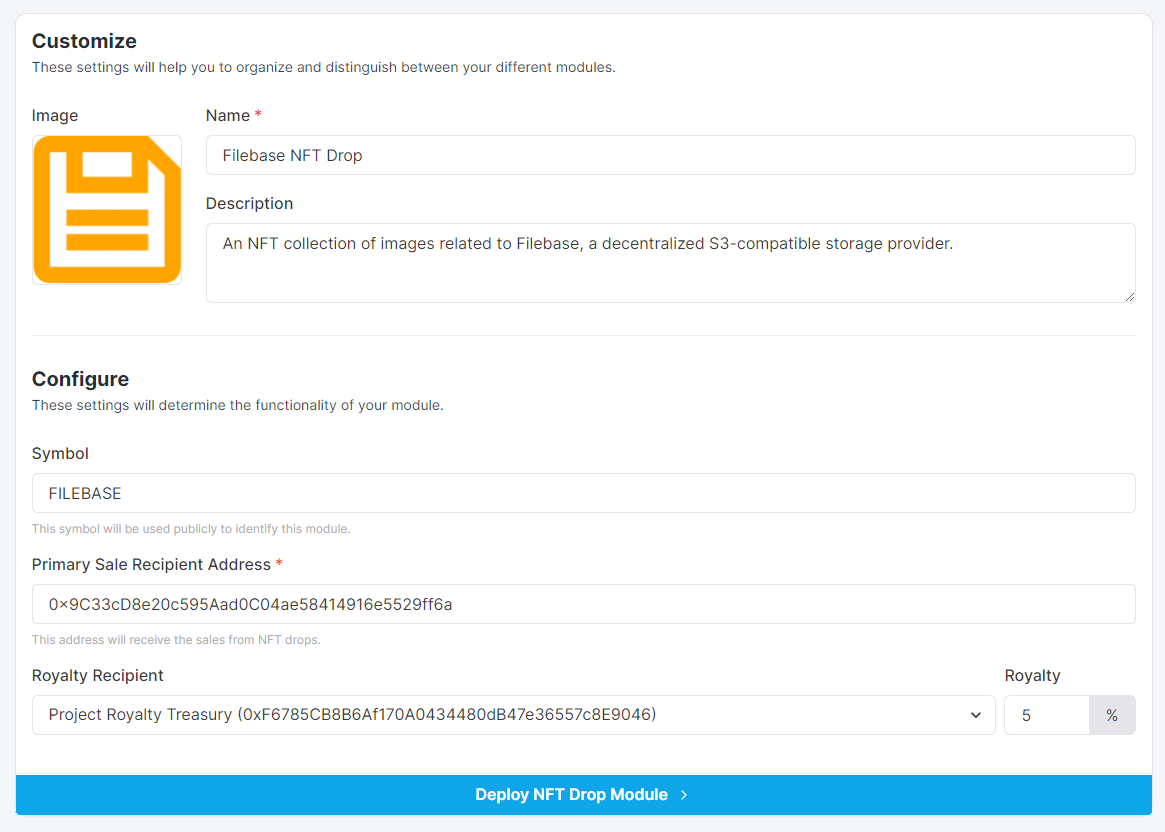
Once finished, click ‘Deploy NFT Drop Module’. You will be prompted to authorize another transaction through your crypto wallet.
Next, confirm the permissions setting for your project:
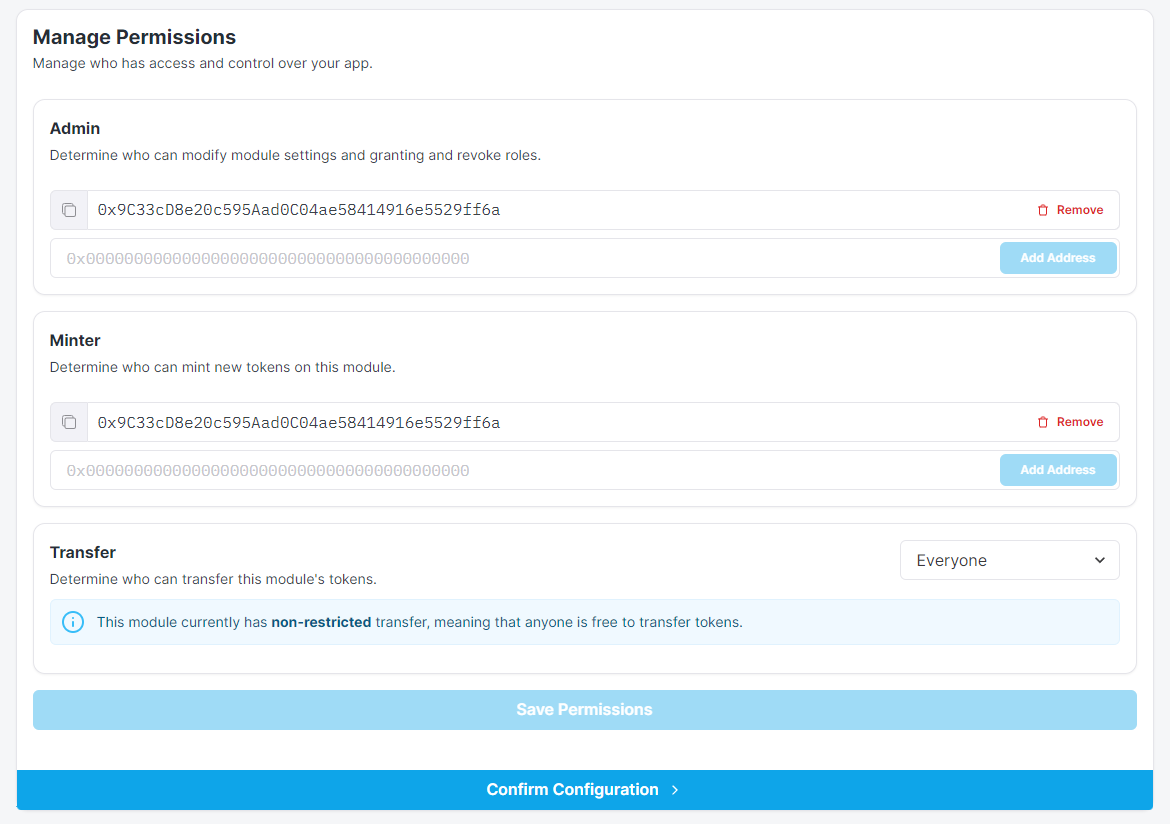
Our project is ready for NFTs to be uploaded!
Before we can upload our NFTs, we need to upload the NFT image files to IPFS through Filebase.
We’ll start by uploading 3 images to Filebase for us to use. To do this, navigate to console.filebase.com. If you don’t have an account already, sign up, then log in.
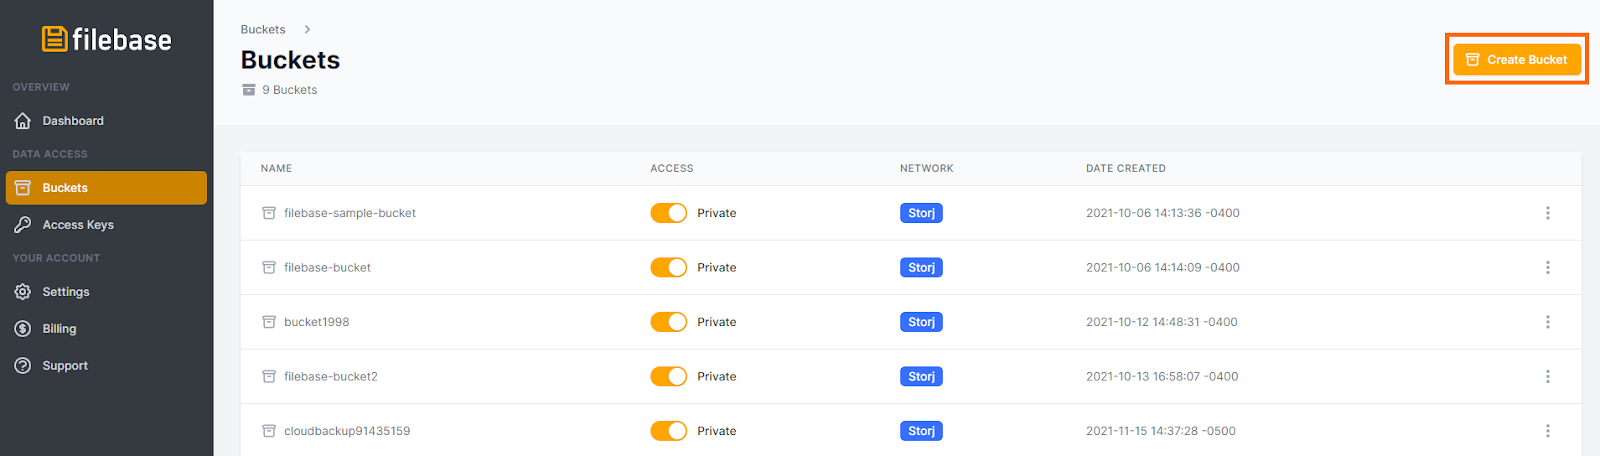
Select ‘Buckets’ from the left side bar menu, or navigate to console.filebase.com/buckets.
Select ‘Create Bucket’ in the top right corner to create a new bucket for your NFTs.
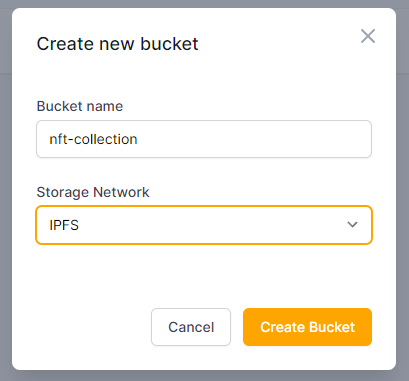
Enter a bucket name and choose the IPFS storage network to create the bucket. In this guide, we’re calling the bucket nft-collection.
Note: Bucket names must be unique across all Filebase users, be between 3 and 63 characters long, and can contain only lowercase characters, numbers, and dashes.
Next, select the bucket from your list of buckets, then select ‘Upload’ in the top right corner to upload your image files.
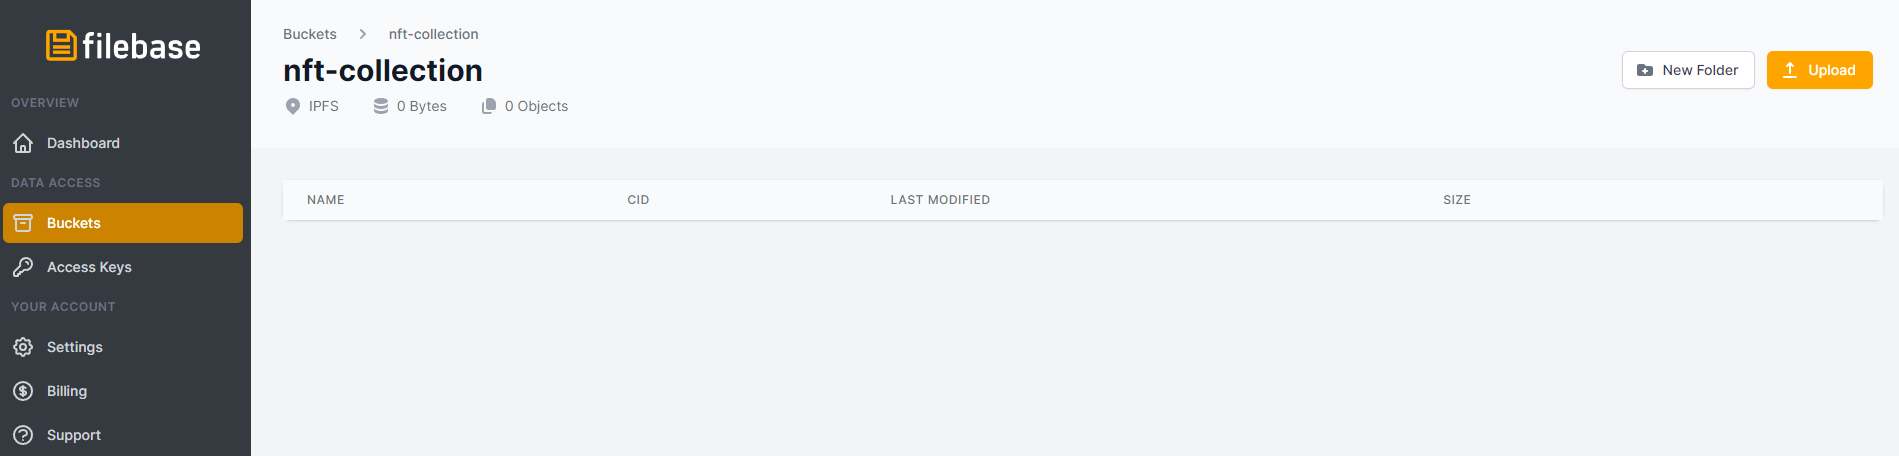
Select your images to be uploaded. Once uploaded, they will be listed in the bucket.
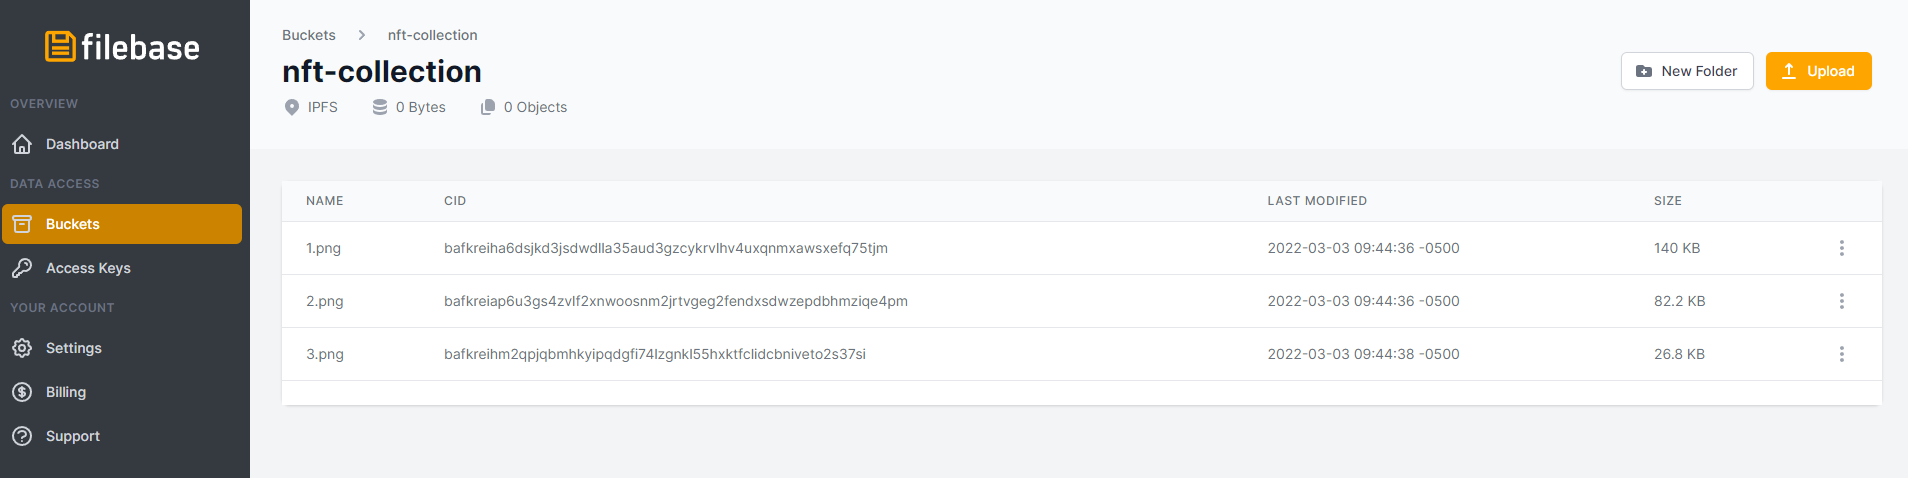
Click on each uploaded object to display the metadata for the object. Take note of the IPFS CID for each object.
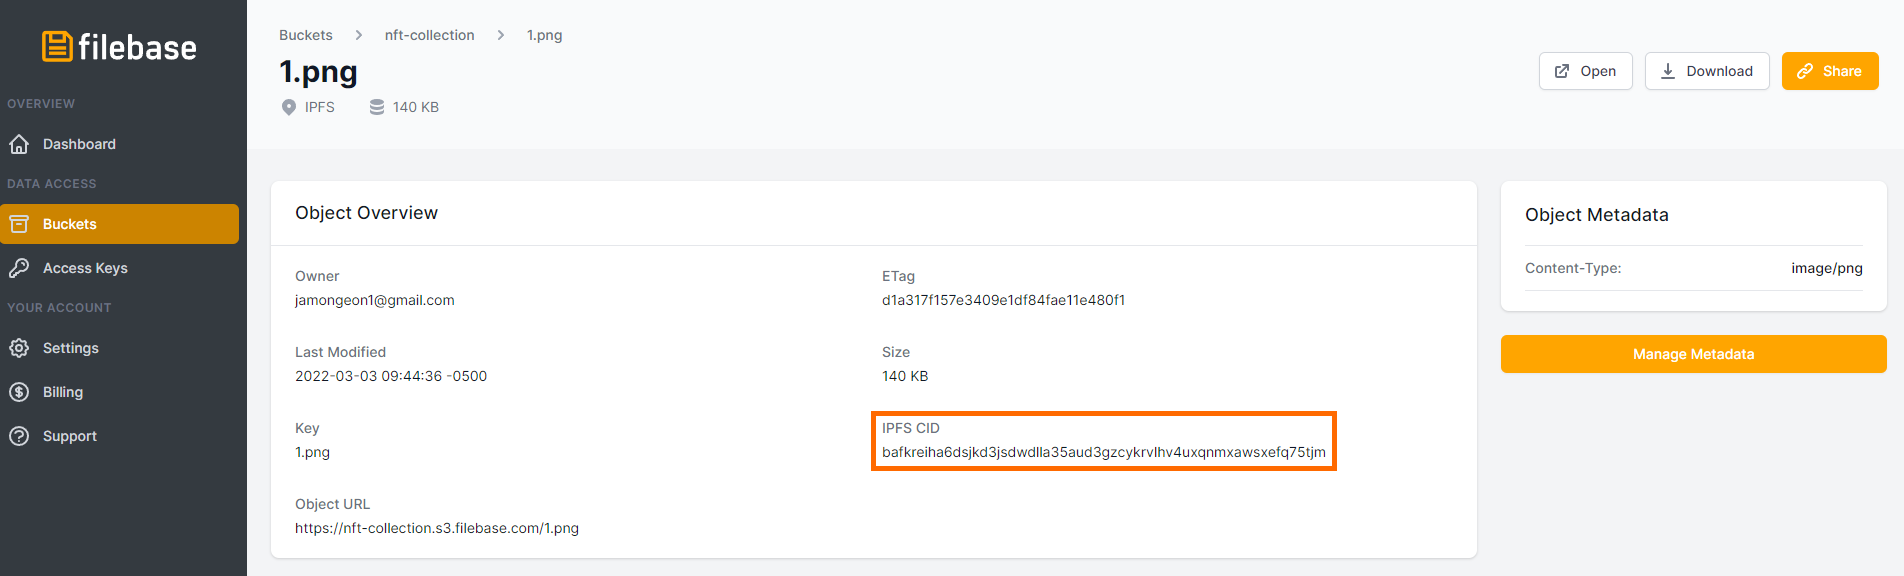
Now we need to create a CSV file with each NFT’s metadata, which includes the IPFS CID we just took note of. Make a CSV with the following format:
| name | description | image |
|---|---|---|
| 1.png | Image 1 in the Filebase NFT Drop | ipfs://bafkreiha6dsjkd3jsdwdlla35aud3gzcykrvlhv4uxqnmxawsxefq75tjm |
| 2.png | Image 2 in the Filebase NFT Drop | ipfs://bafkreieehizit7mnwgp4ptperkugwmam62ey2znohe56an3issdprj3dce |
| 3.png | Image 3 in the Filebase NFT Drop | ipfs://bafkreihm2qpjqbmhkyipqdgfi74lzgnkl55hxktfclidcbniveto2s37si |
Note: Each NFT must be named in sequential order (0,1,2,3,4, etc) followed by the desired file extension (.png, .jpg, etc).
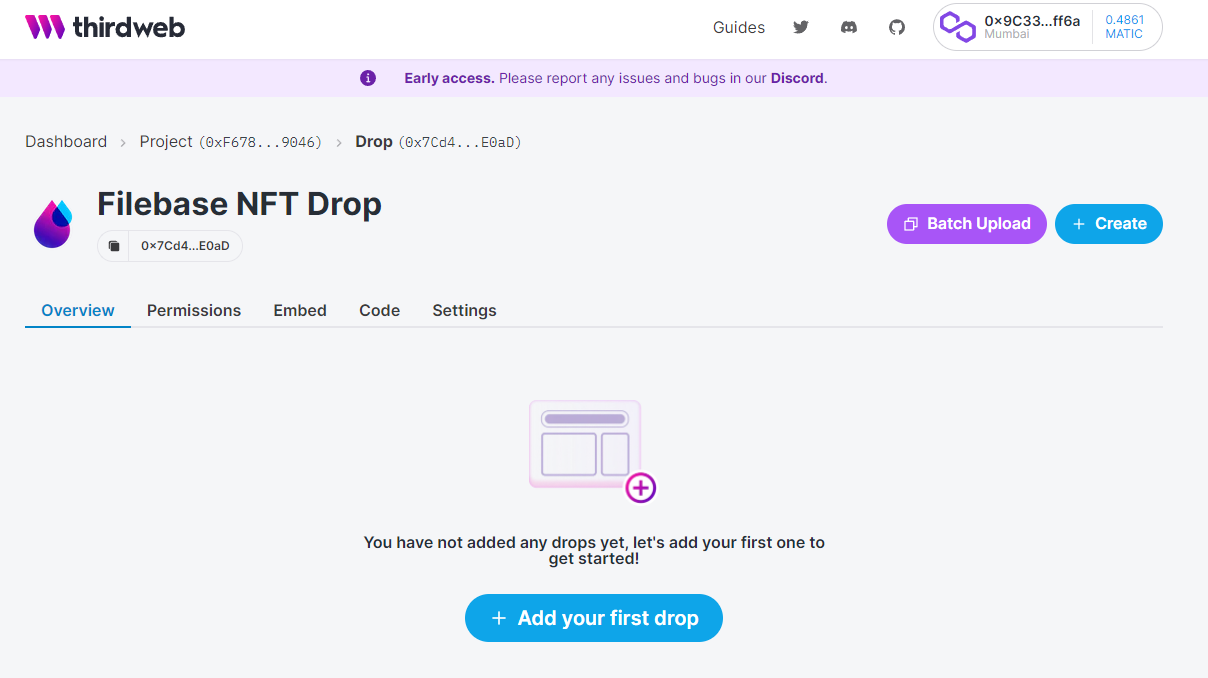
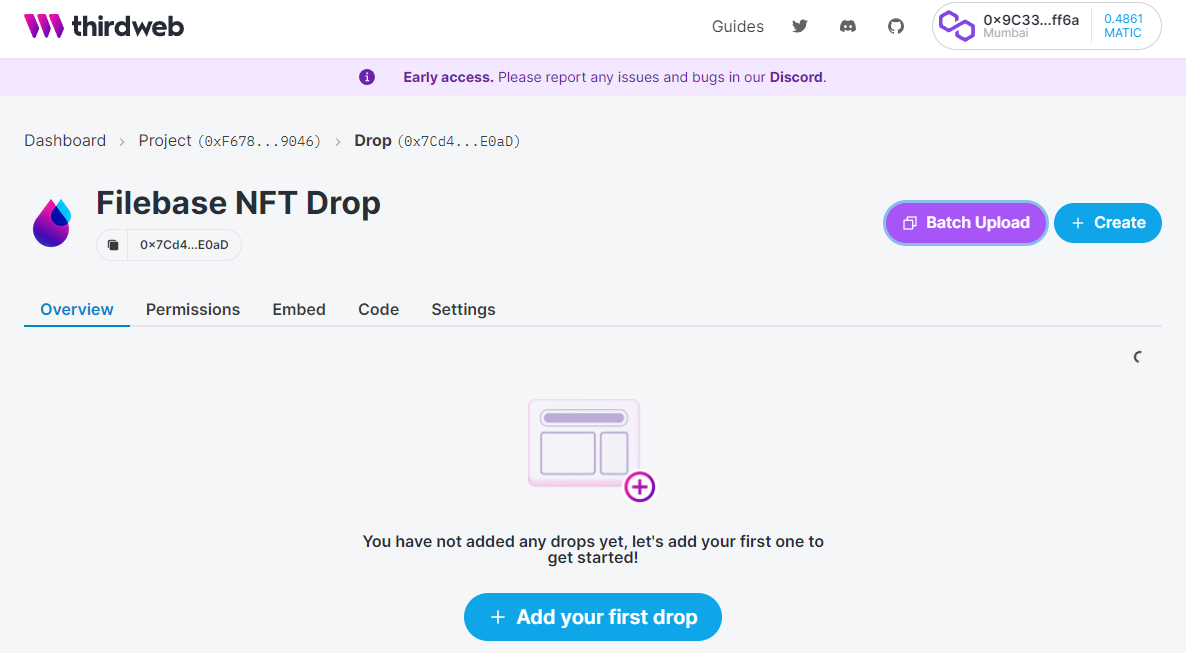
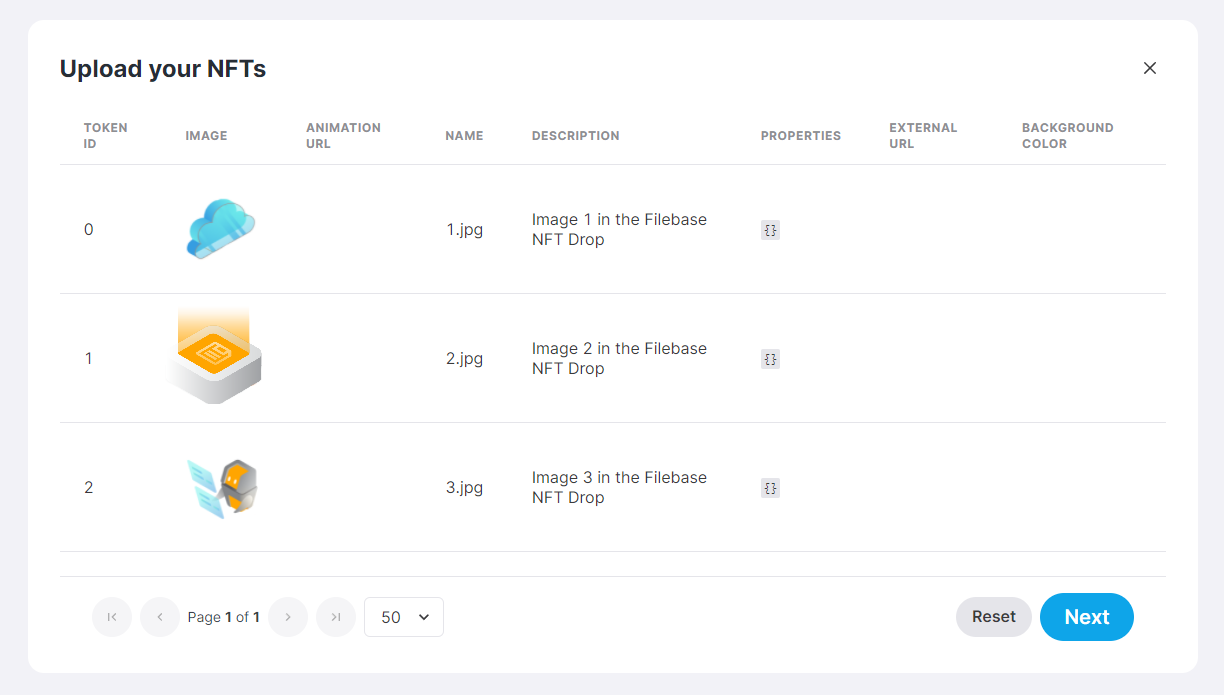
Once you have your spreadsheet, select ‘Batch Upload’ from your Thirdweb project dashboard.
Then, upload your CSV File.
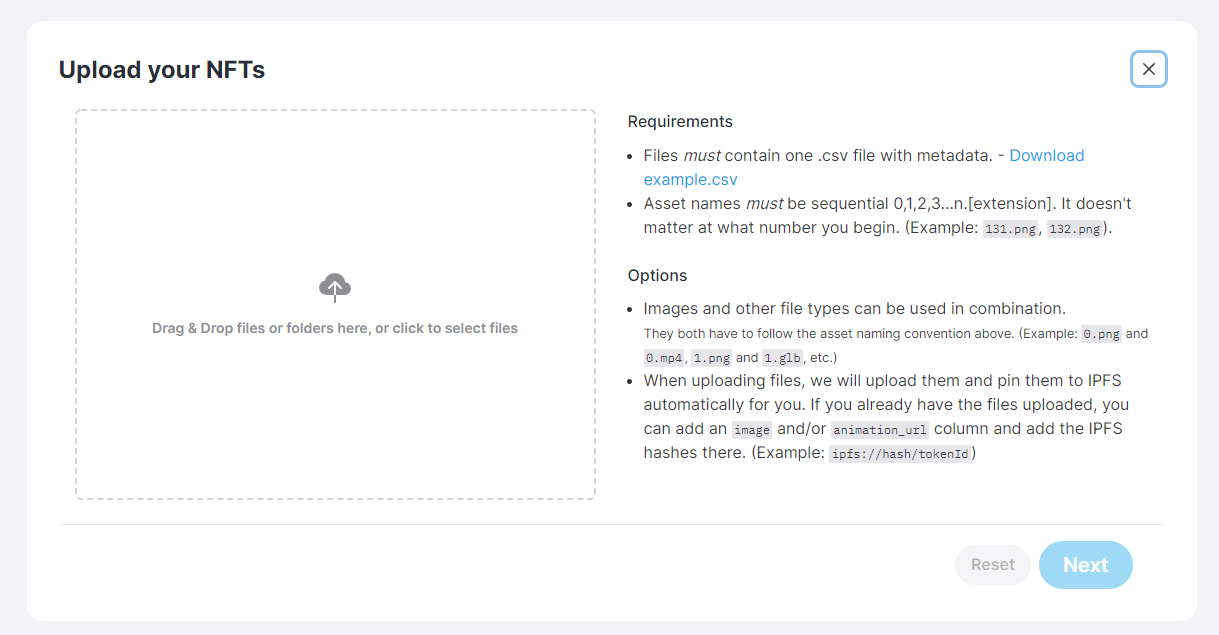
You should see your NFT images populated with their metadata. Select ‘Next’ to continue.
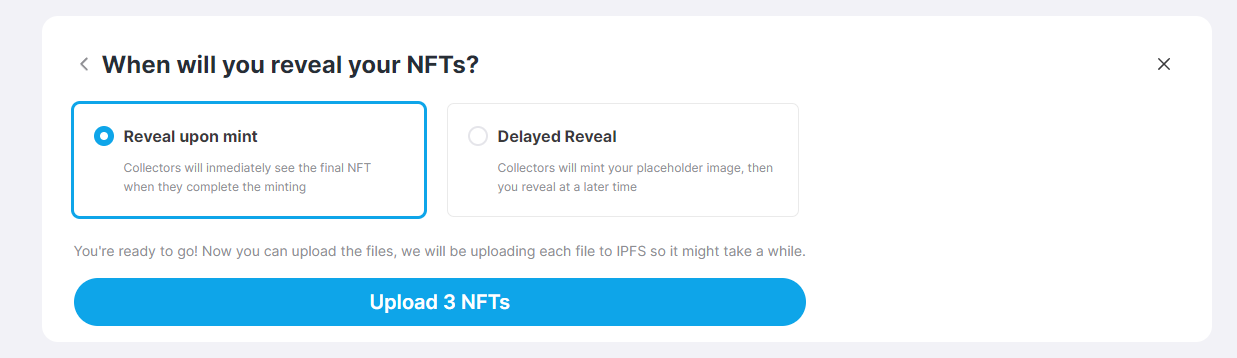
Decide which type of reveal you would like your NFT drop to have, either delayed or reveal upon mint, then upload your NFTs. You will be asked to authorize the transaction through your crypto wallet.
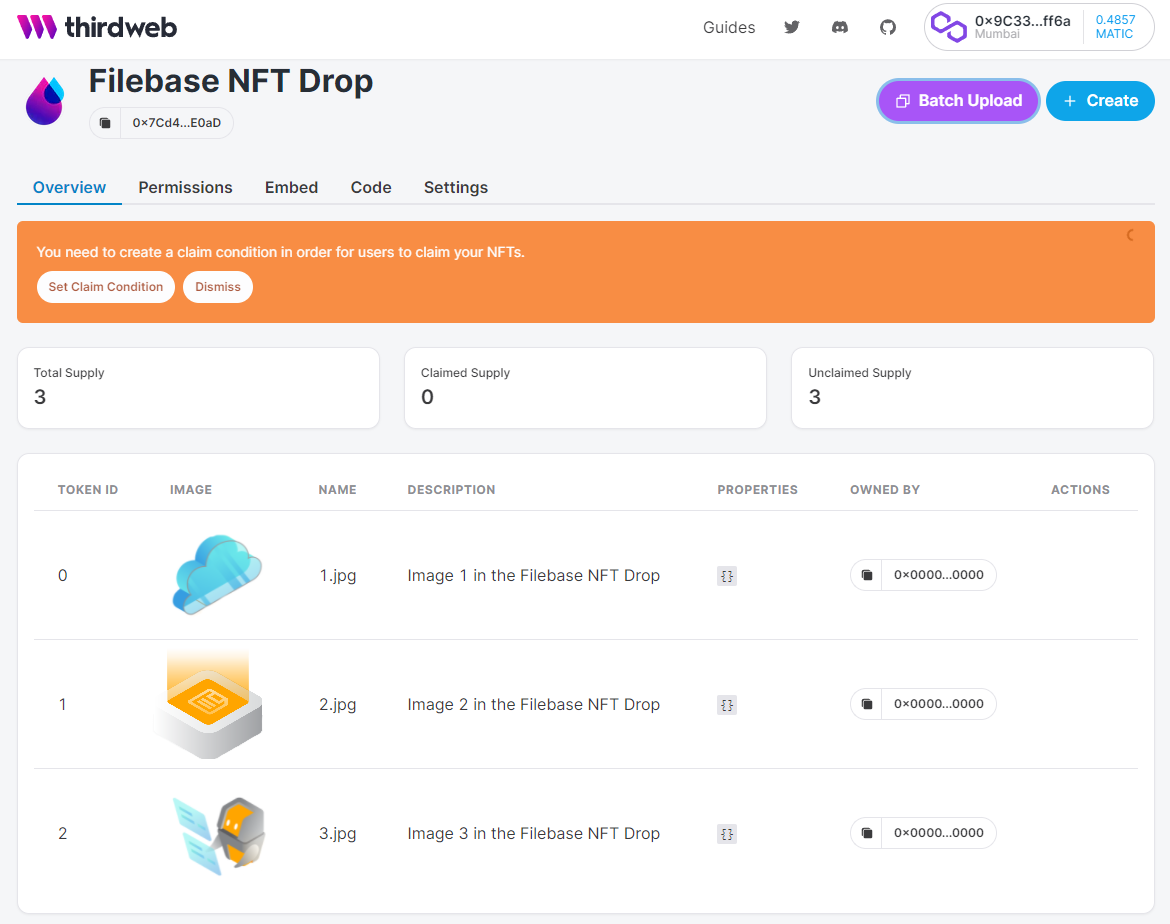
Congrats! You’ve created an NFT collection! Now its time to set a claim condition so that users can own your NFTs.
Select the ‘Set Claim Condition’ button in the banner message.
For your claim condition, decide what cryptocurrency you want to sell your NFTs for, how much per NFT, and the supply you want to be claimable. You can also set a wait time between transactions, and a limit of how many NFTs can be claimed per transaction.
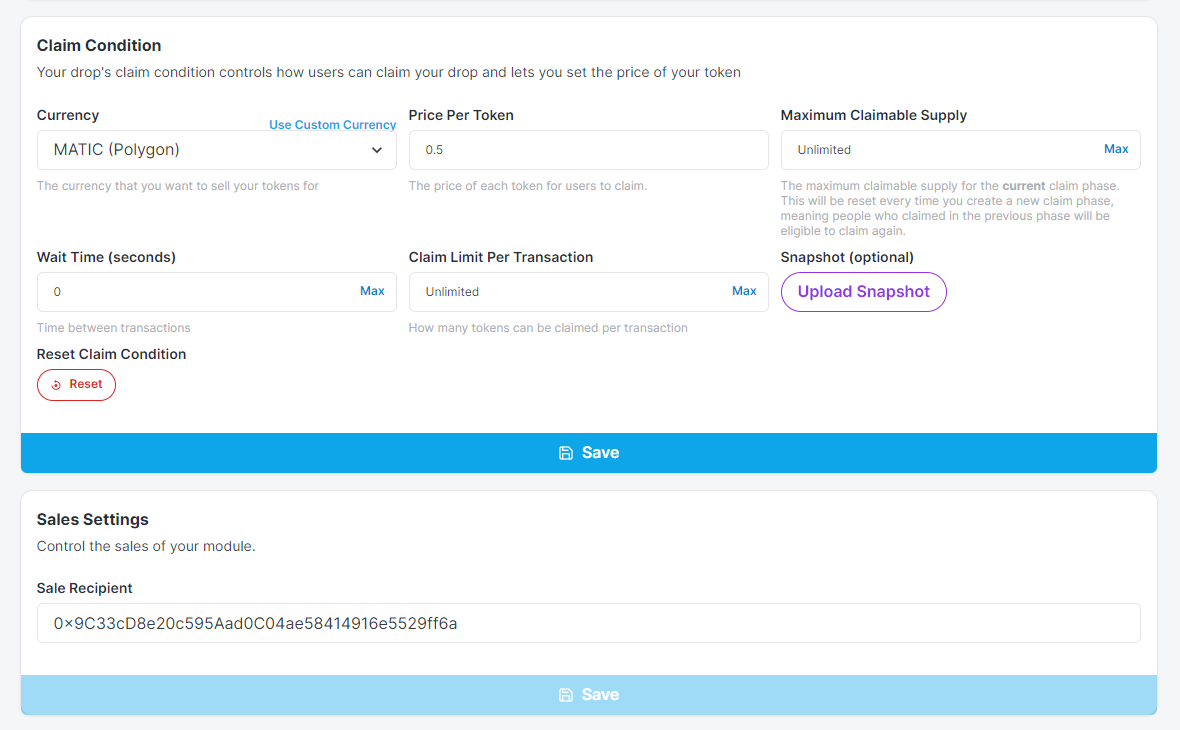
Save your claim condition, and authorize the transaction through your crypto wallet.
You’re ready to release your drop! Thirdweb makes it easy to set your NFT drop as an embedded asset on any website.
Simply choose the ‘Embed’ tab from your project dashboard, then configure the IPFS Gateway to your preferred choice, and copy the Embed code to any website configuration.
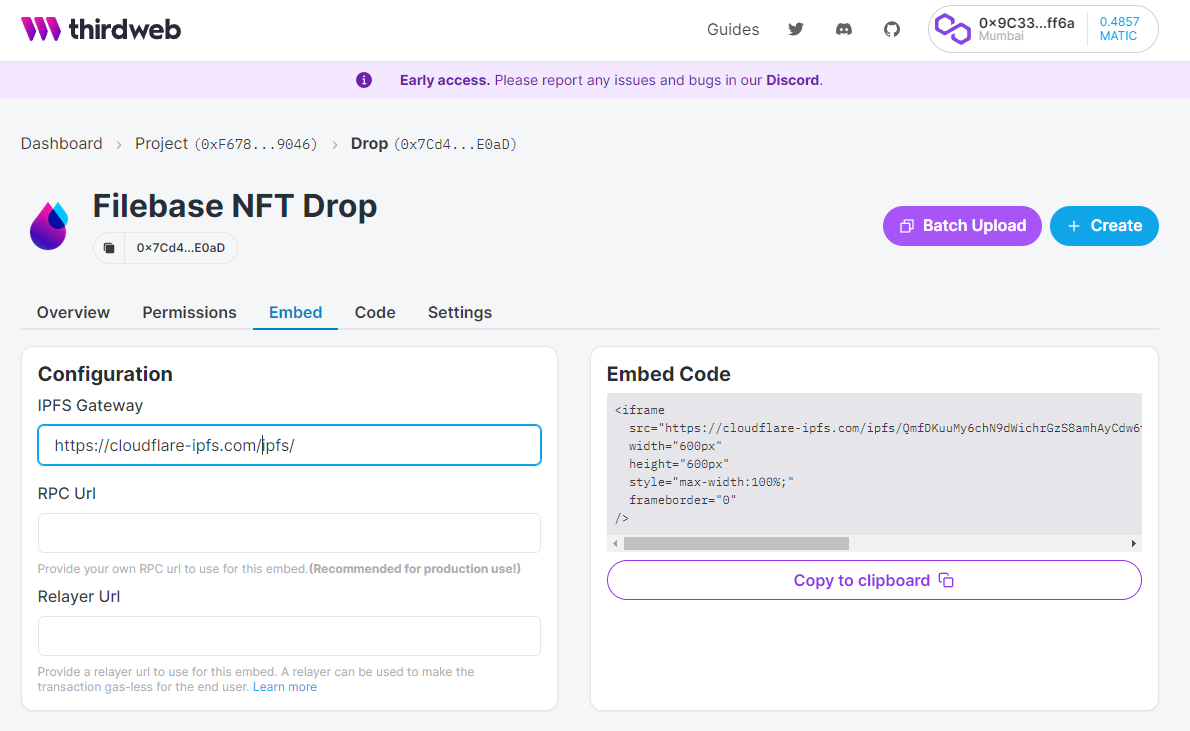
You can also see a preview of your Embedded drop on the bottom of the page.
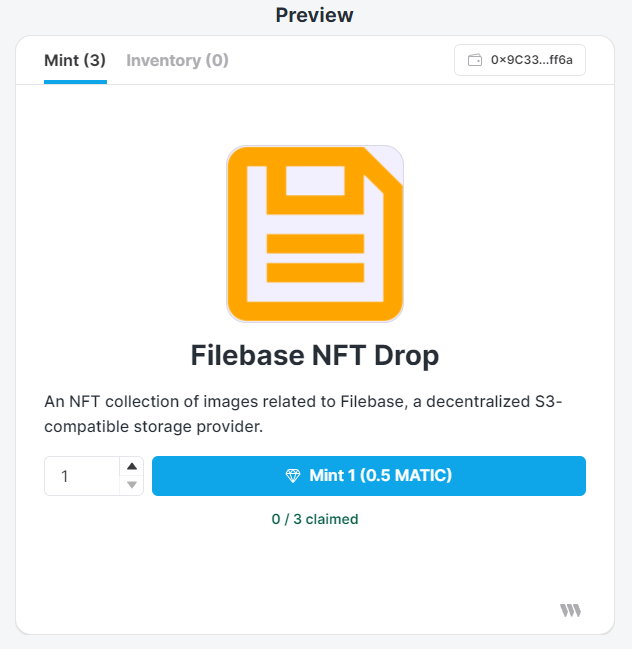
Once embedded in a website, users can connect their Crypto wallet to the embedded Thirdweb app, and mint one of your NFTs!
Your NFT's are now geo-redundant, highly-available via IPFS and stored onto the decentralized web using Filebase.
Questions? Check out our excellent documentation found here, or simply reach out to us: hello@filebase.com or by joining by our Discord.